END-GRAIN GUIDES
Brick pattern end grain cutting board: how the design is built and what to look for
A brick pattern end grain cutting board uses staggered blocks. Learn how it is built and what to inspect.
The short answer
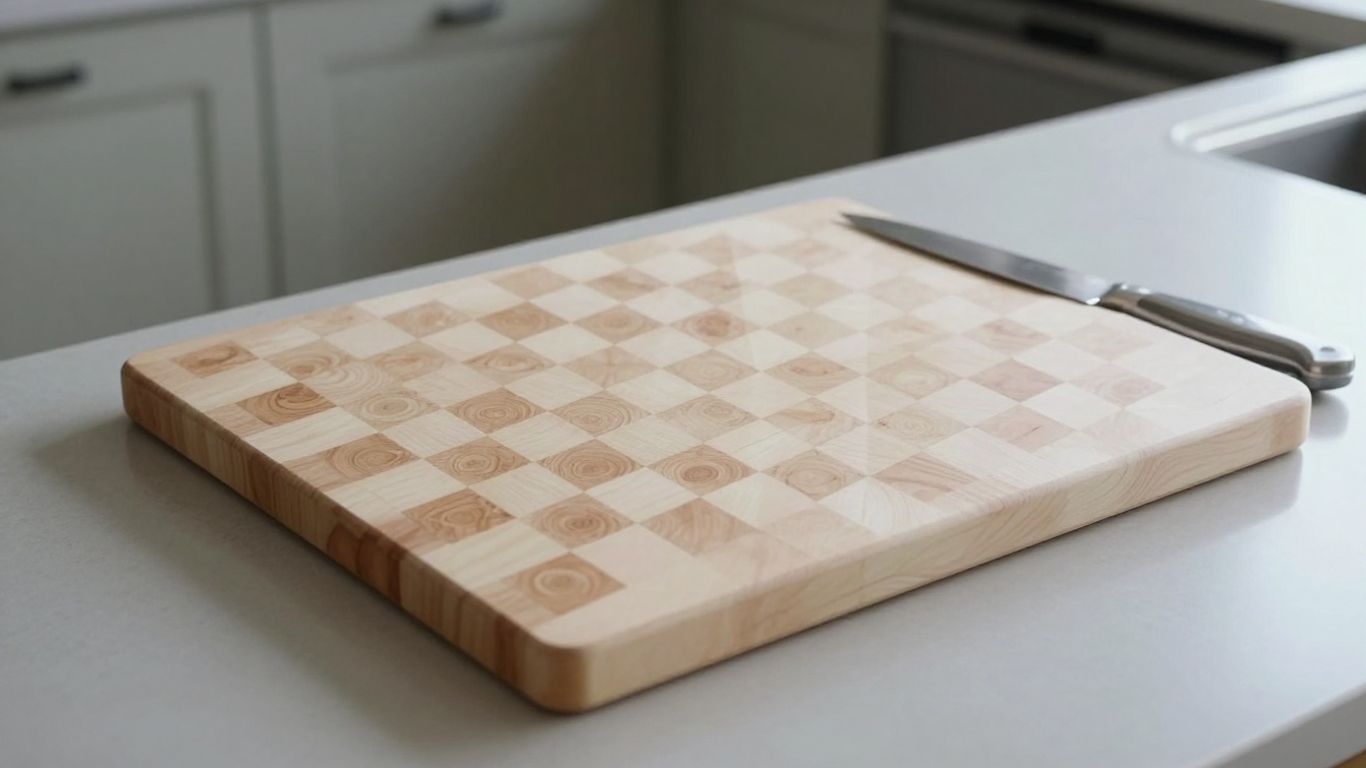
A brick pattern end grain cutting board gets its look from short blocks whose exposed ends form the working surface, arranged in offset rows. The pattern is attractive, but fit, finish, and a sensible size matter more than the layout alone.
- Staggered joints create the brick-like rows.
- Exposed wood ends distinguish end grain from lengthwise strips.
- Contrast can come from different species or grain variation within one wood.
- Tight joints, a flat base, and a smooth surface are useful construction checks.
- Confirm the board’s dimensions, finish, and care instructions before buying.
What makes a brick pattern end grain board different?
A brick pattern end grain cutting board is made from wood blocks arranged in offset rows, with their end-grain faces turned upward. That gives it a repeating pattern without making it a checkerboard. The look depends on the block proportions, joint placement, and natural variation in the wood.
How the staggered blocks create the brickwork look
In a brick layout, the seams in one row do not line up with the seams in the next. The eye reads those offset joints as courses of bricks, even though the pieces are wood blocks fitted into a panel. Shorter blocks and more frequent joints make the pattern feel busier; longer blocks give it a calmer rhythm.
Why the exposed ends of the wood define the grain pattern
The visible surface is the cut end of each piece, so growth rings and other end-grain markings appear as small shapes rather than long lines. That orientation is the defining feature of end grain, not simply the presence of a patterned face. If you want a quick comparison of the two orientations, end-grain and edge-grain differences for maple boards are easier to spot once you know what the surface reveals.
How brick patterns differ from checkerboard and stripe designs
A checkerboard usually alternates similarly sized squares in aligned rows and columns. A brick design shifts the joints between rows, while a stripe design relies on long, continuous bands. These names describe the visual arrangement; they do not tell you whether a board is end grain. Grain orientation is the key distinction to verify separately.
| Pattern | How the pieces are laid out | How it reads on the counter |
|---|---|---|
| Brick | Joints shift between rows, like courses of bricks | Busier with short blocks, calmer with long blocks |
| Checkerboard | Similarly sized squares in aligned rows and columns | A regular grid |
| Stripe | Long, continuous bands | A simple, linear look |
None of these names tells you whether a board is end grain. Check the grain orientation separately.
Why each board’s pattern is unique
Even boards made to the same plan vary because wood color, growth rings, and block selection are not perfectly uniform. A maker can control block size and joint placement, but not make every piece look identical. Expect a consistent layout, not a cloned surface.
How is the brick pattern made?
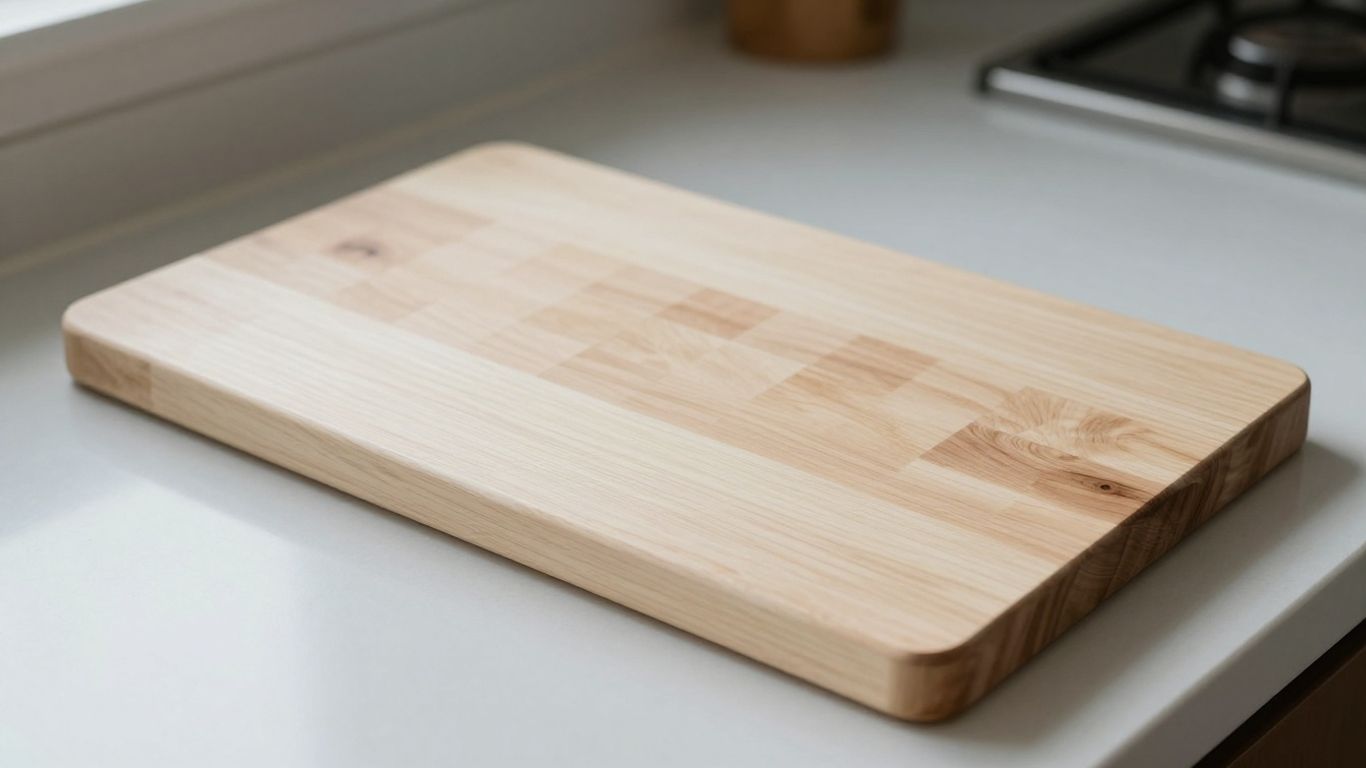
A maker first prepares blocks of consistent size, then arranges and glues them so their exposed ends form the work surface. The process takes careful milling and more than one round of assembly; a simple-looking pattern can involve plenty of measuring. A step-by-step end-grain construction overview explains the broader build sequence.
Cutting and arranging the wood blocks
Wood is milled into pieces with matching thickness and square edges, then grouped into a layout. This is where the pattern becomes visible and where differences in color or grain can be balanced. For reference, the brick-pattern build tutorial follows the process of planning and assembling a board of this type.
Staggering the joints to form the pattern
Once the blocks are laid out, the maker shifts each row so its joints fall between the joints in the neighboring row. A dry arrangement helps reveal awkward repeats or a block that breaks the visual rhythm before glue is involved. The joints should look intentional, not like a pattern that wandered halfway across the board.
Gluing the sections into a stable panel
Blocks are joined into sections and then assembled into a panel, with the end-grain faces oriented upward for the finished surface. Glue-up needs even contact across the joints and enough pressure to close them without pushing the arrangement out of alignment. For a buyer, the useful takeaway is not a particular clamp count, but clean, tight seams and a panel that stays together through normal kitchen use.
Flattening and finishing the working surface
After assembly, the surface is flattened, sanded, and finished. The end grain can absorb finish readily, so the maker’s stated finish and care instructions are worth checking rather than guessing. A short visual demonstration can help you understand why the build involves multiple stages.
Which wood and color combinations work?
Contrast is the quickest way to make the brick layout read clearly, but a subtle single-wood board can show the pattern just as well through its joints and grain. Choose species and color with the finished kitchen in mind, and ask what woods are actually used. Color is only one part of the decision; the pieces also need to be suitable for a glued-up board.
Pairing light and dark species for clear contrast
A light and dark pairing makes each block easier to distinguish. The result can be striking, though it draws attention to every change in tone and grain. Bevel & Bond End-Grain Maple Cutting Board is made from North American hard maple, a useful example of a light-wood end-grain board, though it is not described as a brick-pattern design.
Using one species for a subtler pattern
A single species produces a quieter face, with the staggered joints doing more of the visual work. Different boards within that species can still show changes in tone and growth rings. If you prefer a restrained look, ask to see a range of finished examples rather than judging from one especially uniform photograph.
Checking that the woods have compatible movement
Wood responds to changes in moisture, so a mixed-species board should be assembled with suitable, well-prepared stock. Ask the maker what species are used and how the board should be cared for. Do not assume that a decorative match alone tells you whether two woods are a good construction choice.
Considering grain and color variation over time
Wood can change in appearance with use, light exposure, and routine care. A maker cannot promise every block will age at precisely the same rate, so some contrast may soften or shift. Look for a layout you will still enjoy if its tones become less sharply separated.
How do you judge the construction?
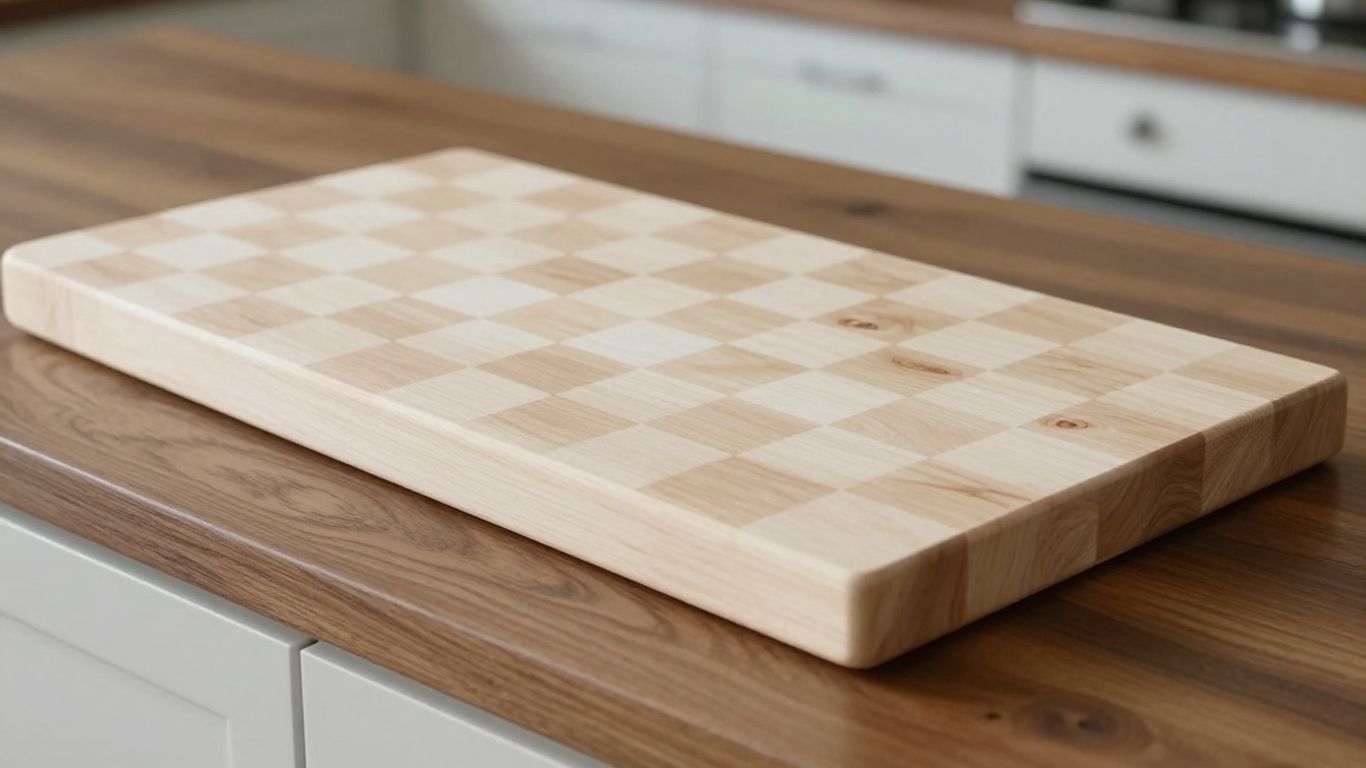
A sound board should have a deliberate layout, closed glue joints, finished edges, and a base that rests steadily on the counter. You do not need woodworking tools to make a first assessment; good light and a slow look around the perimeter are enough. These checks help distinguish careful work from a pattern that merely looks tidy in a product photo.
Looking for consistent block size and alignment
Blocks do not need to be perfectly identical in appearance, but their dimensions and placement should look intentional. Follow a row across the surface and see whether the joints remain aligned with the planned stagger. A little natural variation is expected; a sudden, unexplained change in block size is a fair question for the maker.
Checking glue joints for gaps or visible defects
Inspect the seams at several angles, especially where contrasting woods meet. Look for open gaps, rough glue residue, or cracks that appear to continue into the surface. A useful inspection sequence is simple:
- Scan the face under bright, even light.
- Check the seams along the edges and corners.
- Run your fingertips lightly over the surface for ridges or rough spots.
- Ask the maker about any mark that looks like a gap or split.
Those checks are not a guarantee of how a board will behave, but they help you spot finish and assembly concerns before purchase. A tight seam should look closed rather than filled with a conspicuous line of residue.
Reviewing the perimeter and corner details
The outside edge should feel smooth, with no splinters or sharp corners likely to catch a cloth. If the board has feet, grips, or a groove, check that those details are cleanly finished and match the listing. Details vary by maker, so confirm what is included instead of assuming a familiar feature is standard.
Assessing whether the board sits flat and feels stable
A board should sit without rocking on a reasonably flat counter. If you can inspect it in person, set it down and press gently near each corner. If shopping online, ask for its finished dimensions and weight, and look for clear photos of the base as well as the top.
What does the pattern mean for everyday use?
The brick layout changes the board’s appearance, not the basic way you chop on it. You still need a work area that fits your routine, enough counter space to set it down, and a care routine suited to wood. The pattern can make a practical tool feel more decorative, with the trade-off that a visually active surface may not suit every kitchen.
Expecting a busy visual surface without changing basic use
The repeated blocks are noticeable, particularly when different colors are used, but food preparation works the same way as on another end-grain board. If you are comparing surface orientation rather than appearance, why end grain is easier on knives covers that separate question. A decorative pattern does not change the need to keep the board clean and dry between tasks.
Considering board weight and counter space
A thick, solid board can be heavy to move and store, so measure the counter or shelf where it will live. Bevel & Bond End-Grain Maple Cutting Board measures 17 by 13 by 1.75 inches and weighs over 10 pounds, one concrete size reference for thinking about footprint and handling. Those dimensions are not a standard for every brick-pattern board.
Choosing a layout that suits your kitchen
A high-contrast pattern can be a focal point, while a single-wood layout tends to sit more quietly among other kitchen tools. Consider whether the board will stay on the counter or be put away after use. If storage is tight, choose the working area you actually need rather than buying extra surface just for appearance.
Understanding that pattern alone does not determine durability
The brick arrangement does not by itself establish how well a board is made or how it will hold up. Wood selection, preparation, joinery, thickness, and care all matter. The Bevel & Bond End-Grain Maple Cutting Board is a hard-maple end-grain product, but that fact does not establish anything about brick-pattern construction as a category.
What should you check before buying or commissioning one?
Before committing, confirm the board’s construction, finished size, and care requirements in plain terms. Photos can make grain orientation difficult to judge, while measurements help you picture the real work area. A concise set of questions can prevent a handsome but impractical purchase.
Confirming the board is truly end grain
Ask whether the upward-facing work surface is made from the cut ends of the wood blocks. Look for small end-grain markings rather than long strips that run along the face. Product wording and pattern names can be imprecise, so clear photos of the top and edges are useful.
Comparing dimensions, thickness, and usable work area
Compare the finished measurements, not just a size label such as small or large. Bevel & Bond End-Grain Maple Cutting Board is 17 by 13 inches and 1.75 inches thick, with a weight of over 10 pounds; use its listed details as a reference, not a template. Leave room for the board to sit securely and for a bowl or tray nearby if that is part of your prep routine.
Asking how the board is finished and maintained
Ask what finish is applied and how often the maker recommends renewing it. For routine cleaning, wood boards are generally hand-washed, dried promptly, and kept out of prolonged soaking; follow the maker’s instructions for the particular board. Confirm whether the board is reversible and whether any grooves or feet affect which side you can use.
Weighing handmade detail against price and availability
A carefully arranged brick layout takes time to cut and assemble, and the price should reflect the actual materials and workmanship rather than the pattern name alone. Ask about lead time, dimensions, species, and what is included before comparing options. If a particular variation matters to you, confirm it directly instead of expecting every handmade board to match a sample image.
Choosing a brick pattern end-grain cutting board
A brick pattern end grain board combines an offset block layout with an end-grain work surface, so its appeal comes from both the joinery and the wood itself. Look beyond the pattern: confirm the grain orientation, inspect the seams and finish, and choose a size you can comfortably use and store.
Best for
- Bold brickwork: a light and dark species pairing, so each block stands out.
- A restrained look: a single species, with the staggered joints doing the visual work.
- Small counters: a modest size and weight you can lift to the sink.
- Commissioned boards: a maker who will tell you which woods are used and how to care for the board.
Frequently Asked Questions
What is a brick pattern end grain cutting board?
It is a wood cutting board whose upward-facing surface shows the cut ends of blocks arranged in offset rows, creating a brick-like pattern.
How can you tell whether a board is end grain?
Look at the working face: end grain shows the ends of the wood fibers, often with small growth-ring patterns, rather than long strips running along the board.
Is a brick pattern the same as a checkerboard?
No. A checkerboard typically has aligned rows and columns of squares, while a brick pattern offsets the joints from one row to the next.
Does the pattern affect how you chop?
The pattern is primarily visual. Your basic chopping routine does not change, though the board’s size, stability, and surface condition still matter.
Can a brick pattern board use one type of wood?
Yes. A single species can create a subtler look, with the staggered joints and natural grain variation providing the pattern.
What should you inspect before buying one?
Check that it is genuinely end grain, look for tight seams and smooth edges, and confirm its dimensions, thickness, finish, and care instructions.
How should you clean a wooden cutting board?
Follow the maker’s directions. In general, hand-wash with mild soap and warm water, towel-dry it right away, stand it on edge, and do not soak it or put it in a dishwasher.
What should you do next?
- Confirm the board is truly end grain by looking for the cut ends of the wood at the surface.
- Compare dimensions, thickness, and usable work area with your counter.
- Check glue joints, block alignment, and whether the board sits flat without rocking.
- Ask how the board is finished and how it should be maintained.
- Compare another patterned design in how a 3D end grain maple pattern works.
How this guide was put together
The End Grain Cutting Board Guide team writes and fact-checks every guide on End Grain Cutting Board Guide. Comparisons are based on maker specifications, published standards and food-safety guidance from sources such as the USDA, and each guide is reviewed and updated when specs or prices change. More about us.